
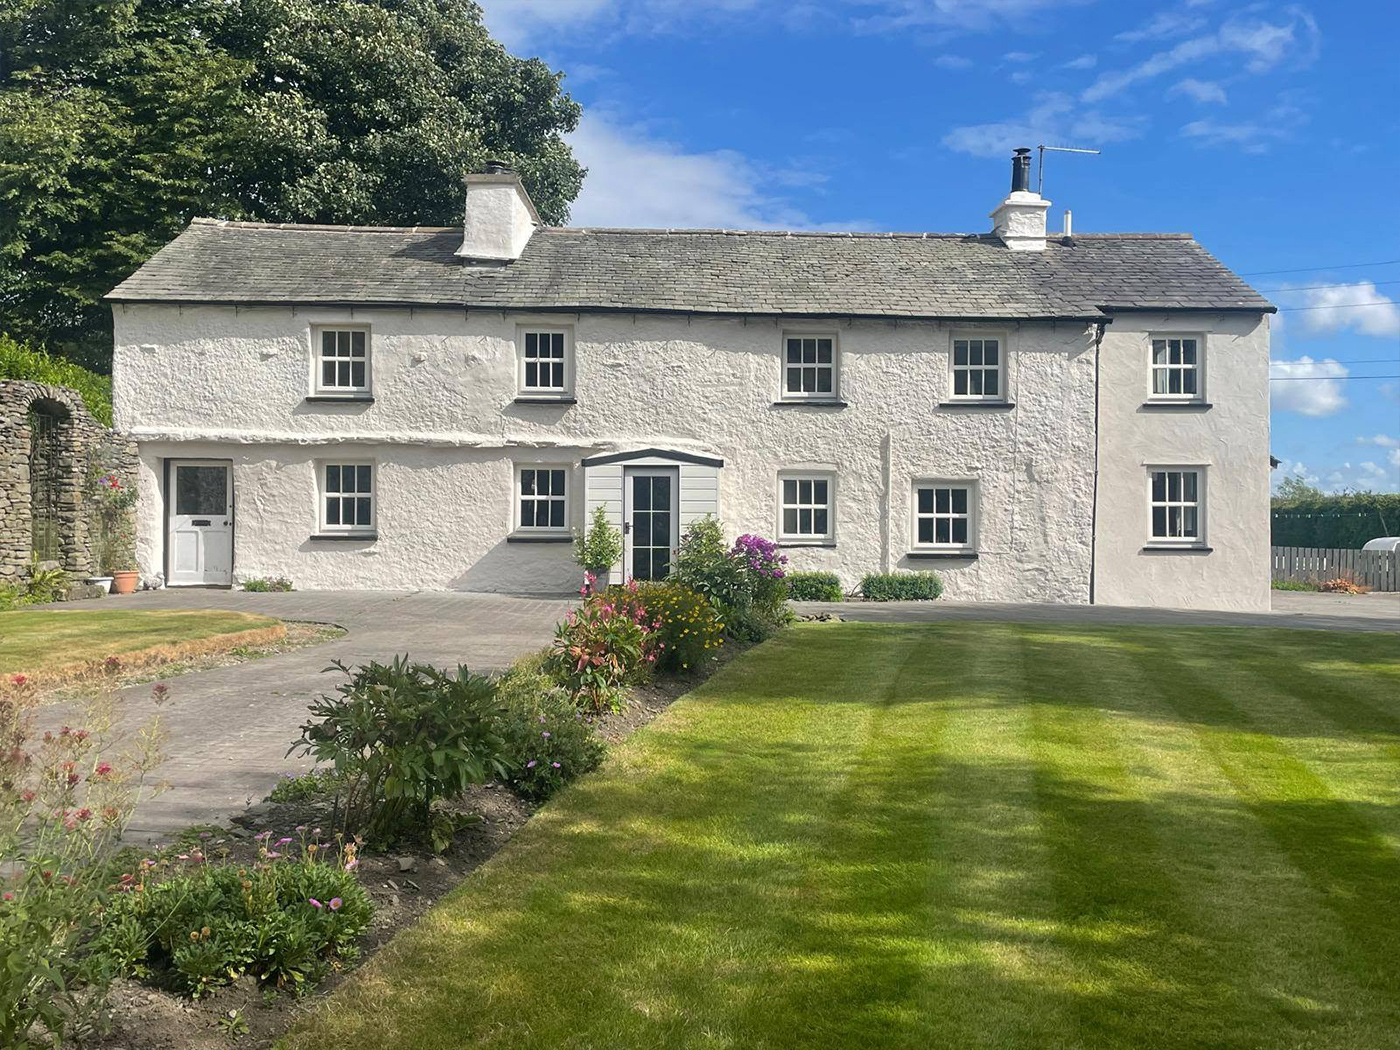
This guide walks through a typical cork render installation from the first survey to the finished coat, so you know what to expect and how to get your property ready.
Quick Answer
A cork render installation starts with a survey of the walls. Any loose, hollow or damaged render is repaired, defects such as leaking gutters are put right, and the surface is cleaned. Windows, doors and surrounding areas are masked, a primer is applied, and the cork coating is then sprayed or trowelled on in a seamless layer. Once it has cured, the masking comes off and the site is cleared.
Step 1: The Survey
Every job starts with an assessment of the walls. The installer will look at what the existing surface is made of, whether any render is loose or hollow, and whether there are cracks, damp patches or other problems that need fixing first.
This is also the point to talk about the finish you want, from the texture to the colour. A good survey means the quotation reflects the work your walls actually need, rather than a one-size-fits-all price.
Step 2: Repairs Before Any Coating
Cork render is a finishing coat, not a structural repair. Before anything is applied, problems with the wall itself need putting right. That can include:
- Removing and patching loose, blown or hollow render
- Repairing cracks that are still moving
- Fixing leaking gutters, downpipes and damaged flashing
- Dealing with any failed pointing
Sound existing render can usually stay in place, which is one of the main reasons people choose cork render over a full re-render. If you have cracks in your current finish, our guide on why cracked render should not be ignored explains what to look out for, and our cracked render repair page covers how we deal with it.
Step 3: Cleaning And Masking
The surface needs to be clean, dry and free from dust, grease and organic growth so the coating can bond properly.
Windows, doors, sills, pipes and anything else that should not be coated are then masked off, and surrounding paths and planting are protected. On a well run job, this stage takes real care, because clean masking lines are what make the finished result look sharp.
Step 4: Priming The Wall
A primer is applied to help the coating bond to the surface. ReveCork uses Fixative 100 or Fixative 200, with the right one chosen according to the type of wall. Getting this step right matters, because adhesion depends on the primer as much as on the coating.
Step 5: Applying The Cork Coating
ReveCork comes in three grades: fine, medium and coarse. Each gives a different texture, and each can be applied in different ways:
- Fine: airless spray, brush, roller or trowel
- Medium: projection machine, hopper gun or trowel
- Coarse: projection machine, hopper gun or trowel
On most exterior walls, the coating is sprayed on as one continuous layer at around 2kg per square metre. Because there are no boards or joints, the finish is seamless and follows the shape of the wall underneath.
ReveCork can be applied in temperatures from 1°C to 50°C, and it is touch dry after around three hours at 18 to 20°C. Drying times do vary with the weather, the wall and the thickness of the coat, so your installer will plan the work around the forecast.
Step 6: Curing, Checks And Clear Up
Once the coating has cured, the masking is removed and the edges and details are checked. The site is then cleared, leaving the walls with their new finish.
Because the colour is built into the coating, there is no separate painting stage. You can choose from the ReveCork colour range, with NCS and NOVA colours available on request.
How Long Does It Take?
It depends on the size of the property, how much repair work is needed, access and the weather. A single elevation in good condition will be much quicker than a whole house with hollow render and complex detailing. Your installer will give you a realistic timescale after the survey.
How To Prepare Your Home
There is not much you need to do, but a few things help the day run smoothly:
- Clear access around the walls being coated, including bins, planters and garden furniture
- Let neighbours know if access or scaffolding will be close to their boundary
- Keep windows on the elevation being coated closed while work is under way
- Move cars away from the area being sprayed
Frequently Asked Questions
Do I need to move out during the work?
No. Cork render is applied to the outside of the building, so you can stay at home as normal. You may just need to keep windows closed on the side being coated.
Can cork render go over my existing render?
Usually, yes, as long as the existing render is sound and firmly bonded. Loose or hollow areas are repaired first. If your home is pebbledashed, see our guide on covering pebbledash.
What happens if it rains?
Installers plan the work around the weather and will not apply the coating in conditions that would affect the finish. If rain is forecast, the job may be rescheduled.
Is there a warranty?
A product warranty of up to 10 years may be available, depending on the substrate, location and the approved technical specification. Your installer will confirm what applies to your property.
Who carries out the work?
ReveCork is applied by trained and approved applicators. You can find your nearest through our find a contractor page.
Ready To Talk About Your Walls?
If you would like to find out whether cork render is right for your property, call us on 0333 577 1912 or get in touch. You can also read more about cork render or see finished work in our gallery.